The Perfect 3 Day Yosemite Itinerary
You could spend the rest of your life in Yosemite and never feel like you have fully explored it. 3 days in Yosemite National Park? It’s impossible to see it all. However, any moment spent in Yosemite is a good one, and I will share how to make the best of a short time in the park with this 3 Day Yosemite Itinerary.
This itinerary is ideal for backpackers. You’ll be spending a night in the wilderness and a night in Yosemite’s Secret Backpackers’ Campground. This itinerary is also ideal for those who didn’t plan ahead for a busy summer weekend in the park – campgrounds and lodges fill up SO fast. We planned this with less than a month’s notice for one of the park’s busiest weekends. Be prepared for a lot of hiking, some of the best views in the United States, and maybe some hitchhiking. It will be quite the adventure.
Snapshot of your 3 Day Yosemite Itinerary
Day 0
- Arrive in Yosemite
- If you arrive before dark, find somewhere to watch the sunset
- Camp at Yosemite’s Backpackers’ Campground
Day 1
- Wake up early and hike to Mirror Lake from your campsite
- Pack up camp and pick up your backpacking permit
- Drive to Tunnel View and hitchhike to Glacier Point with your backpacking gear
- Hike 9 miles and camp along the Pohono Trail at Dewey Point
Day 2
- Backpack the rest of the Pohono Trail (4 miles) and end at Tunnel View
- Drive back into Yosemite Valley, detouring to Bridalveil Falls
- Hike the Yosemite Falls Trail and Cook’s Meadow Loop
- Drive toward Mariposa Grove and stay the night at Big Trees Lodge/Wawona Hotel
Day 3
- Take the shuttle to the Mariposa Grove of sequoias
- Hike the Grizzly Giant Loop Trail (or more depending on how much time you have)
I have a must-see-all-the-best-things complex sometimes. When I plan a trip to a National Park, I want to make sure I don’t miss any stunning views or awesome trails. I do a crap ton of research and googling, and I read a bunch of blogs. From all of that, I came up with the above itinerary. After visiting the park and accomplishing all the things, I couldn’t stop saying “I did it! This was the best.” I felt like I had planned the perfect 3 day Yosemite Itinerary; I was so proud of myself, and we had the most amazing time.
I want you to have the most amazing time too.
How to prepare for your 3 day Yosemite Itinerary
Make a reservation at The Wawona Hotel/Big Trees Lodge for the 3rd night of your trip. If they’re full on the 3rd night, you could swap around the order of the itinerary and do the Big Trees on your 1st night. If they are completely full, spend your 3rd night at the backpackers’ campground (more on this later) and drive to Mariposa Grove on your last day.
I mentioned that you were going to backpack during this trip. You will need to reserve a backpacking permit for the Pohono Trail ahead of time.
Only a certain amount of wilderness permits are released from each trailhead to give everyone the chance for solitude on the trail. 60% of the permits for each trail are reserve-able ahead of time. 40% are released 7 days in advance. It is $10 per reservation and $5 per person to reserve a wilderness permit ahead of time. I highly recommend guaranteeing your spot ahead of time. If 2 of you are going, it will cost you $20 total to reserve your permit.
How to Reserve your Backpacking Permit
This is the site to try to reserve your permit. You can submit the form 24 weeks to 3 days before you plan to go backpacking. You are trying to book Pohono Trail (Glacier Point). Same-week reservations are frequently available.
Pick up your permit from one of the five wilderness centers once you arrive in the park. You must pick up your permit by 10am the day of your hike or it will be released to other campers.
This is the NPS website about reservation windows.
If you were unable to reserve a spot ahead of time, you can try to get a first-come, first-served backpacking permit from one of the Wilderness Permit Stations in the park. They give priority to the closest Wilderness Permit Station in relation to the trailhead, so for the Pohono Trail you would want to go to the Yosemite Valley Wilderness Station.
Day 0 – Arrive to Yosemite
For day 1, you just have to get to Yosemite. Yosemite’s site has directions for how to get into the park. This itinerary is best with your own car or a rental car. A 7 day pass is $35 per vehicle, or you can use the America the Beautiful National Park Pass if you have one.
Traffic in Yosemite can be AWFUL, especially during the summer and on weekends. Allow for extra time to get into the park.
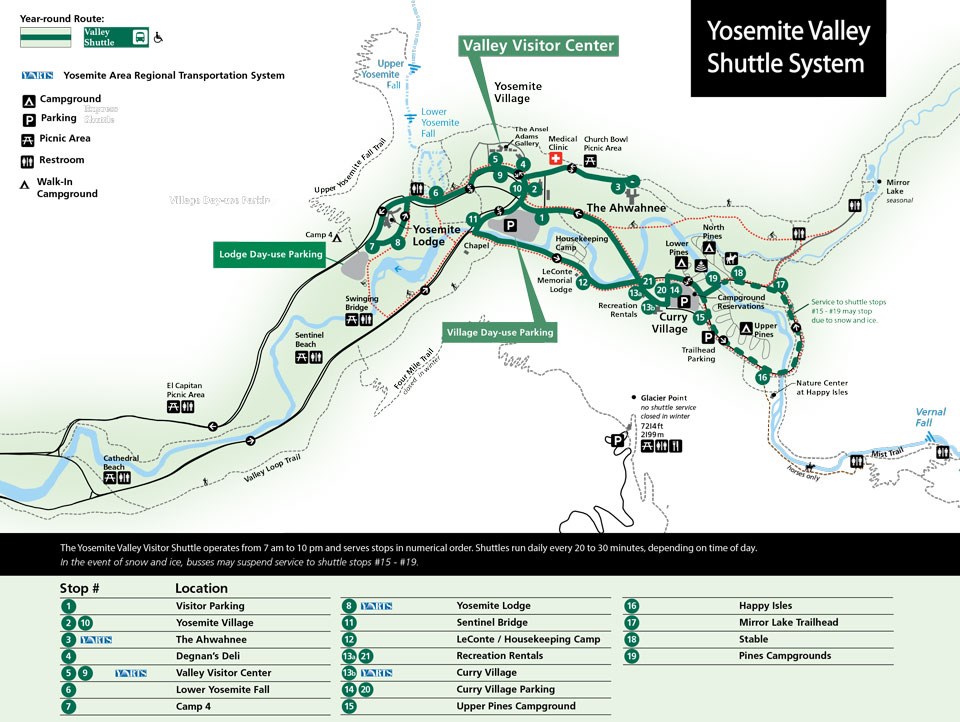
You will need a couple maps to navigate your weekend. This one is of the whole park, and this one is of Yosemite Valley, where you will spend a lot of your time. You might want to keep these open in different tabs as you read through this itinerary.
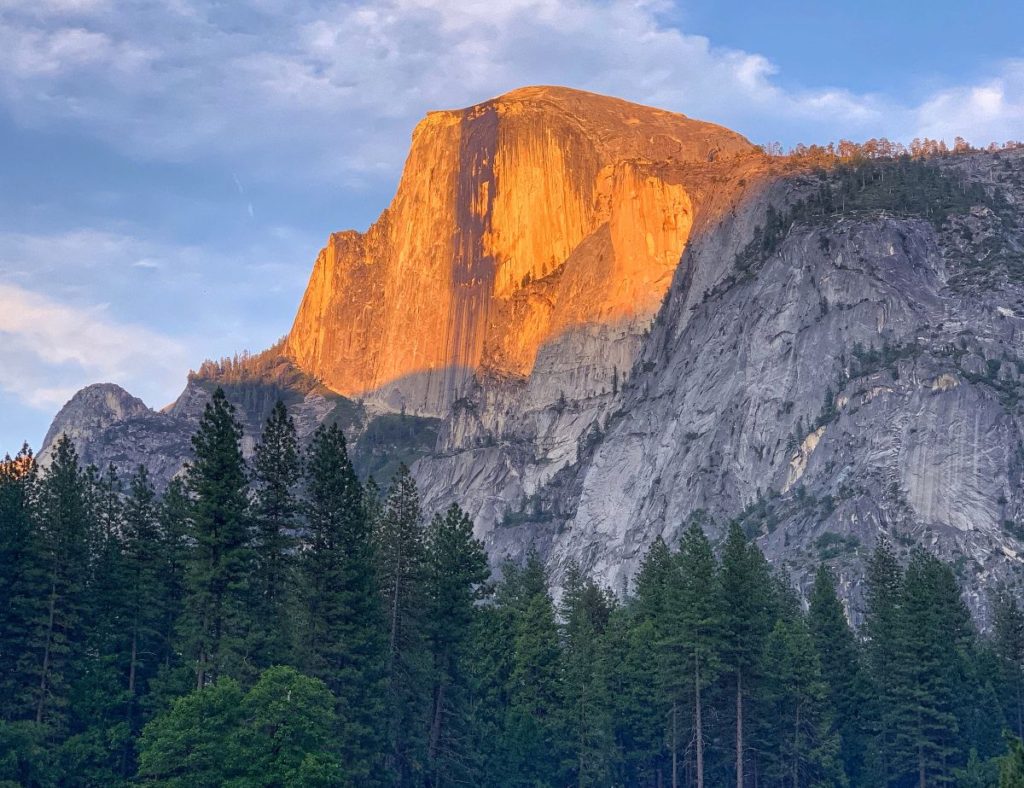
If you have the time, park to watch the sunset somewhere, preferably a spot with a good view of Half Dome. You could stop near Sentinel Beach or Swinging Bridge or wherever suits you.
Get to Yosemite’s Backpackers’ Campground and set up camp. If you have a backpacking permit, you are allowed to camp in the backpackers’ campground 1 night before and 1 night after your backpacking trip. It’s $8 per person and not luxurious, but it’s an excellent way to stay in the park. Yosemite’s campgrounds fill up fast, and you aren’t allowed to just sleep in your car. The backpackers’ campground allows you to stay for cheap, and you don’t have to book it a year in advance.
Park at Half Dome Village Parking. (If this lot is full, park at Trailhead Parking.) When you exit the parking lot, stay right and follow the road. At the first intersection, turn left and go over the bridge. This will bring you to North Pines Campground on your left. Enter this campground, walk past the ticket booth, and stay to the right, following the road. You will pass bathrooms, and I suggest using them and getting water here. (There is no potable water at the backpackers’ campground.)
Stay even further to the right on a dirt path. You will see a small bridge over the river. Cross that bridge and you’ll be in the backpackers’ campground.
For all the info on the backpackers’ campground, check out my post here.
Day 1 – backpack to Dewey Point
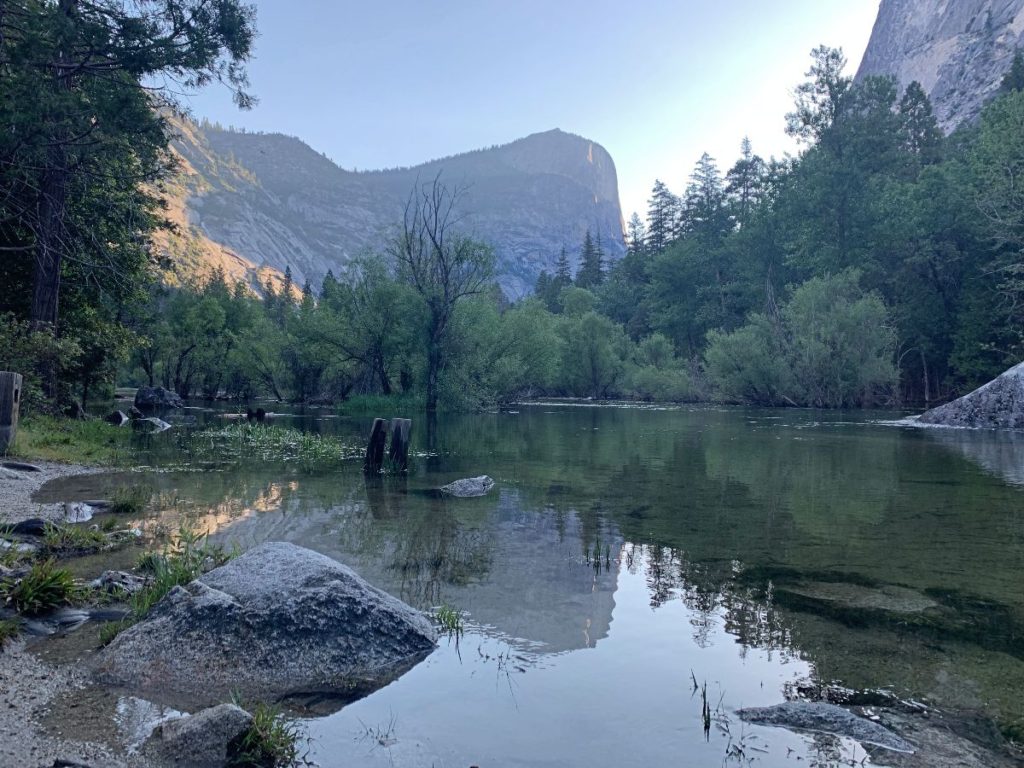
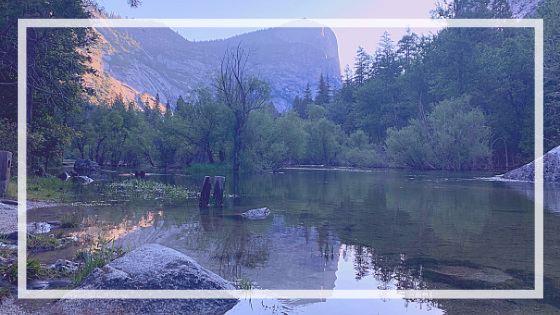
Wake up early to hike to Mirror Lake. This lake is best to see in early summer when the water has not dried up yet. If you’re visiting in late summer, it will just be a pretty field.
Leave your tent set up and just bring a day pack or water for this short 2-ish miles hike. From the back of the backpackers’ campground, you’ll find a wide dirt trail. Take a right and head towards Mirror Lake. It’s around 2 miles if you hike to the lake and back; you can do a full 5 mile loop if you’d like, but remember that you’re backpacking 9 miles later.
Once you return to your campsite, have breakfast and take down camp. Backpack out to your car. Leave your gear in your car and catch the shuttle to pick up your backpacking permit.
Yosemite Valley Shuttle System is great. It keeps traffic in the park down, it’s free, and I highly recommend using it. Catch the shuttle from stop 20 (near Half Dome Village Parking) and take it to stop 4 or 5. The bus drivers are super helpful if you have questions.
Visit the Yosemite Valley Wilderness Center by 10am to pick up your backpacking permit. If you don’t pick it up by 10am on the day of your hike, they will release your permit to other backpackers. Talk to the park rangers about the Pohono Trail, and rent a bear canister if you don’t already own one.
Take the shuttle back to your car and get your packs ready for backpacking.
The Pohono Trail
I wrote a detailed post about the Pohono Trail that you can view here. The trail is 13 miles one way. This makes transportation a bit complicated. If you are in a group with 2 cars, the easiest way to backpack this trail is to park one car at Tunnel View, drive the other car to Glacier Point, hike to Tunnel View, then drive back to Glacier Point to pick up that car. The 2nd best way to do this is to park a car at Tunnel View, hitchhike to Glacier Point, then hike to Tunnel View/your car. If you aren’t comfortable hitchhiking (I wrote a post about hitchhiking in Yosemite; it was actually easy and awesome), view my Pohono Trail post to potentially take the bus tour.
Ideally, you should be starting your hike with enough time to make it to Dewey Point by sunset. Google what the sunset time is for when you’ll be in the park, estimate how long it will take you to backpack 9 miles. We average around 30 minutes per mile – so 5 hours-ish. If sunset is 9pm, you should be starting your hike around 3pm at the latest, to allow for time to set up camp and make dinner. I recommend getting to Tunnel View by 1pm to allow for traffic and time at Glacier Point.
Drive to Tunnel View and either hitchhike to Glacier Point or drive your 2nd car to Glacier Point. Admire the view at Glacier Point – it is one of the best in the park – then start hiking the Pohono Trail.
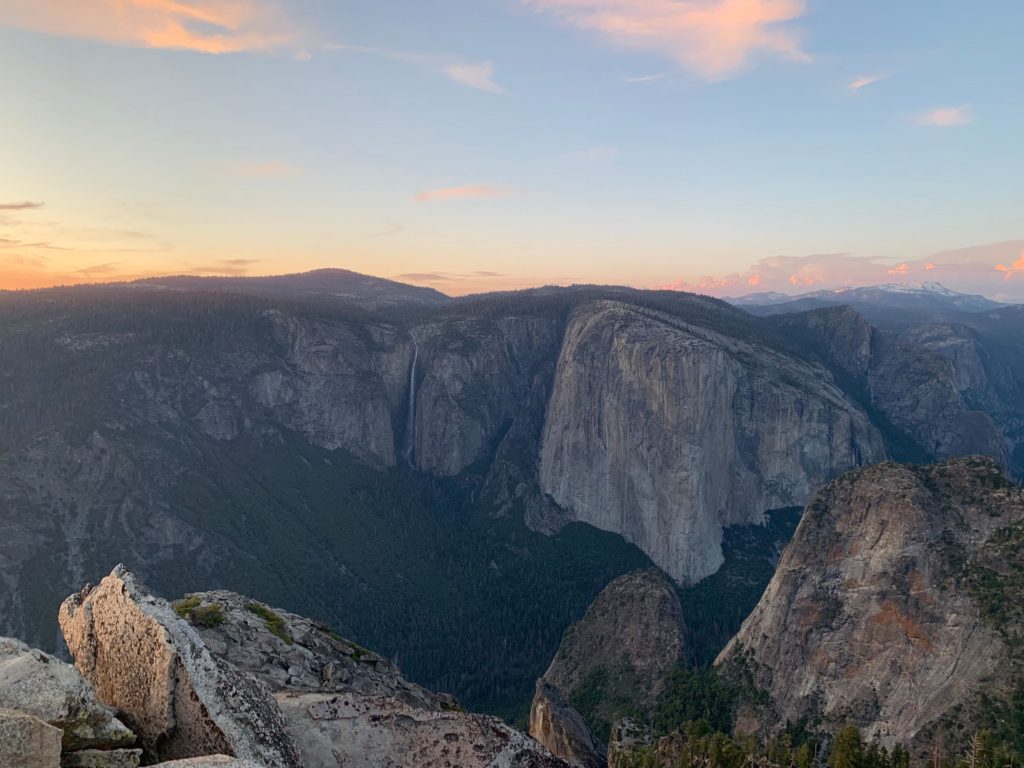
You have 9 miles to hike to Dewey Point, which I highly recommend doing. The sunset view is unbelievable. Once you arrive at camp, set up your tent, then walk over to Dewey Point to make dinner and witness the sunset.
Day 2 – Finish the Pohono Trail & Hike a bit more
Wake up, have breakfast at Dewey Point, then finish the Pohono Trail. You should have around 4 miles and a couple more awesome viewpoints left.
After getting to your car at Tunnel View, head back towards Yosemite Valley. Stop at Bridalveil Falls (you’ll see the turn off on the right for the parking lot; it’s very well marked) for a quick half mile hike. Warning: you might get wet.
Drive back into Yosemite Valley, drop off your bear canister, and do a couple more little hikes. You can easily combine Yosemite Falls with Cooks Meadow Loop. Depending on how you’re feeling you can do just the Lower Yosemite Falls trail (1 mile), the Yosemite Falls trail to Columbia Rock (2 miles), or if you’re a beast you can hike to the top of Yosemite Falls (7.2 miles). Cooks Meadow is a very easy hike that meanders through a meadow with great views of Yosemite Falls.
Once you are prepared to leave the gorgeous Yosemite Valley views behind, hop in your car and drive to The Wawona Hotel/Big Trees Lodge. Eat a great meal and relax in a little bit of luxury after all that hiking.
Final Day of your 3 day Yosemite Itinerary
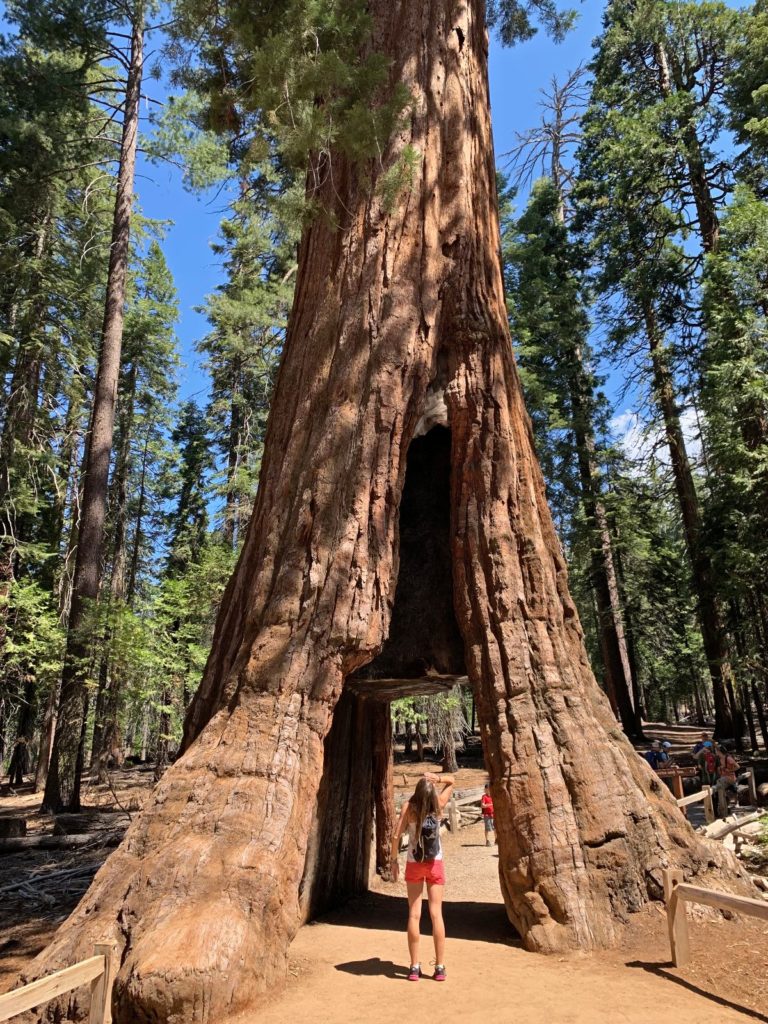
A morning among the towering sequoia trees. It is best to take the free shuttle to Mariposa Grove. Park at the Welcome Plaza and catch the shuttle that runs every 10 minutes.
A short ride on the shuttle, and you will find yourself at the Mariposa Grove of sequoias. You have a few options for hiking, depending on how much time you have for your final day. You can do a quick 0.3 mile hike, the 2 mile Grizzly Giant Loop trail, the 6.5 mile Guardians Loop Trail, or the 7 mile Mariposa Grove Trail.
For everything on the shuttle and hiking, view Yosemite’s website here.
The Perfect 3 day Yosemite Itinerary – Enjoy!
That’s it! That’s how you have a perfect long weekend in Yosemite.
I hope this 3 day Yosemite National Park Itinerary helps you plan an epic trip. Feel free to swap things around or eliminate small hikes if you’re feeling tired. While I think the itinerary gives you the best glimpse of the park, your trip is ultimately up to you.
If you visit, please comment below and let me know what your favorite views in the park are!
Happy Hiking!

Hey there ! Thank you so much for all of this information, I just got approved for my permit to do the Pohono trail this month. This will be my first backpacking trip and I am nervous and thrilled ! I am worried about being able to hitch hike back, I will not have two cars and shuttles are not running. If worst case scenario happened could i walk the 6 miles back?? Or is it to dangerous on the side of the rode?? I also wanted to see if you are able to rent a bear canister there?
Thank you again !!!
Hi Sierra! So pumped for you!! I love this trail so much. We parked at Tunnel View, hitchhiked up to Glacier Point to start our trek, and hiked back down to Tunnel View. That way, when we finished our hike, we already had our car there. There were spots to safely try to hitchhike at the Tunnel View parking area, and there are tons of cars that pass through there. If you’re doing the opposite and need to hitchhike from Glacier Point, I think there would still be enough cars there that someone would offer you a ride. The walk might be a bit much after already hiking 13 miles, but I suppose you could do it if no one offered a ride. I wrote a post about hitchhiking in Yosemite: https://www.nursetonomad.com/hitchhiking-yosemite-national-park/
They do rent out bear canisters! You can get one when you pick up your backpacking permit. Talk to the park rangers about the hike while you’re there; they’re super helpful, especially since it’s your first backpacking trip.
Enjoy!! Happy Backpacking! Let me know if you have anymore questions.