How to Backpack Cracker Lake Glacier National Park
How to backpack Cracker Lake Glacier National Park and take the beauty of this park to a higher level. You will find yourself alone with your fellow backpackers, free to take in the bewildering views of nature on your own. You will find yourself in parts of the park that few are able to see. And you will definitely feel like a badass.
Cracker Lake is a perfect, aquamarine lake located in East Glacier. The trail is 6.3 miles each way and is a great option for a shorter 2 day backpacking trek. I would rate the hike as moderate. All in all, there were no risky cliff sections and no high mountain peaks, but it wasn’t just flat ground. The total elevation gain is 1400 ft.
I backpacked this trail in September 2018 (post updated September 2023), and I am going to share all the deets on how you can see Cracker Lake and spend a night next to it. If you want the story-time version and less of the how-to, check out Cracker Lake – by Nurse to Nomad.
You can also use this post and scroll to the Hiking the Cracker Lake Trail section if you’d like to just hike it and not backpack! It’s a doable 13-ish mile day hike if you don’t get a backpacking permit or would rather just spend an afternoon here.
It would also be an amazing first backpacking trip! Check out my backpacking tips for beginners.
If you think you’re up for it, let’s go!
How to Backpack Cracker Lake Contents
Cracker Lake Backpacking at a Glance
- Location: Many Glacier area of Glacier National Park, Montana
- Distance: 13 miles roundtrip
- Elevation Gain: 1400 ft
- Hiking Time: 4 hours each way, depending on how quickly you hike with a pack
- No campfires allowed
- No pets allowed on trail
- There are food lockers to store your food away from bears
- The area can sometimes be closed due to bear activity
When to Backpack Cracker Lake
Glacier National Park is really a summer destination. Sometimes roads are blocked into July due to snow. And it can get pretty cold even in early September. Booking a campsite mid-July to mid-September is ideal. Be aware that there isn’t a lot of shade on the trail if you’re hiking on a hot day.
How to get a Backpacking Permit
You must have a backpacking permit if you are planning on backpacking Cracker Lake or any other backcountry site in Glacier National Park.
You have 2 options for obtaining your backpacking permit. One option is to reserve a spot ahead of time, which I recommend if you really have your heart set on this hike and know exactly what night you will be camping. Cracker Lake is a very popular backpacking destination, and we heard from park staff that it typically fills up.
You also have the option to obtain a permit 24 hours before your trek.
For backpacking treks June 15th-September 30th, 70% of each backpacking area’s campsites are reserve-able ahead of time. The other 30% are left for walk-ups. Cracker Lake offers 3 backpacking sites.
From May 1 through October 31, there is a $10 permit fee and additional $7/night per person camping fee payable upon permit issuance at a wilderness permit office. Winter wilderness camping permits (November 1–April 30) are free. When you reserve ahead of time, you pay on recreation.gov.
Option #1: Reserve your spot ahead of time
Backpacking permits can be reserved starting on March 15th at 8AM MST each year. I recommend setting an alarm reminder in your phone so you have your best chance of securing a site. I also recommend making a recreation.gov account ahead of time if you don’t already have one. If you don’t have access to a computer, you can call their Call Center at 877-444-6777.
Visit recreation.gov and click Check Availability on the right. Choose your starting area – Many Glacier – for this hike, and choose the number of backpackers (can only select 1-4).
A calendar will appear. Find CRA (Cracker Lake) and search your dates. If it’s not already booked, a number will show with the number of sites left. Click that number and then book to get your date booked. I’d imagine you’ll have to do this quickly to guarantee a site.
You have 15 minutes to pay and finish booking once your site and date are selected. Congrats!
There is a 3 night limit at this campground during the busy summer.
Important: Your reservation confirmation is NOT your permit. You must pick up the permit either the day before or day of your itinerary start date at any wilderness permit issuing station in Glacier National Park. Permits not picked up by 4:30pm on their start date will be cancelled.
If you have a group of 5 or more, you can apply to be part of a lottery on March 1st . You do this on pay.gov, more information here. Or you can do separate recreation.gov reservations in the same way I’m explaining here.
Option #2: Walk in permits
If you are risking it and hoping for a permit once you arrive to the park, you can attempt to get a permit no more than one day before your hike. I highly recommend getting to the park office when they open on the day before you plan to camp. If you are hoping to camp Thursday night, arrive at the Permit Center when they open on Wednesday. Plan your trip around this and have a back-up plan if the site is full.
We went to Glacier late in the season, mid-September, so none of the spots at Cracker Lake had been reserved ahead of time. We walked in the day before and booked our spot with no issues. It sounds like this is not the norm, though.
Permitting Locations
Of note, they stop issuing backpacking permits 30 mins prior to closing.
Many Glacier Ranger Station is the closest to Cracker Lake, but we got our permit from St. Mary Visitor Center because we were exploring that area of the park that day.
Apgar Backcountry Permit Center – Open daily 7am-5pm May 1-September 30.
St. Mary Visitor Center – Open daily 7am-5pm May 28 – September 30.
Many Glacier Ranger Station – Open daily 7am – 5pm May 28 – September 28. (This is closest to the hike.)
Two Medicine Ranger Station – Open daily 7am – 5pm May 29 – September 29.
Polebridge Ranger Station – Open daily 8am – 5pm from May 28 – October 12.
The Permitting Location will tell you specifics about Cracker Lake, whether bears have been spotted, trail conditions, etc. You must watch a brief video on bear safety prior to any backpacking. Which brings me to my next topic…
For more backpacking inspiration, check out the 10 Best Bucket List Backpacking Trip Ideas.
Bears and Wildlife
Glacier National Park is home to grizzly bears and black bears. Grizzlies are especially terrifying to me. I mean, have you seen The Revenant? Follow the instructions from the videos they have you watch, but here is my advice to go along with it. Make noise the entire time. Make human noises because this is what scares them off. Clap, sing, and talk loudly. Most bear attacks happen when they are surprised by a human, so you want to do everything you can to avoid this.
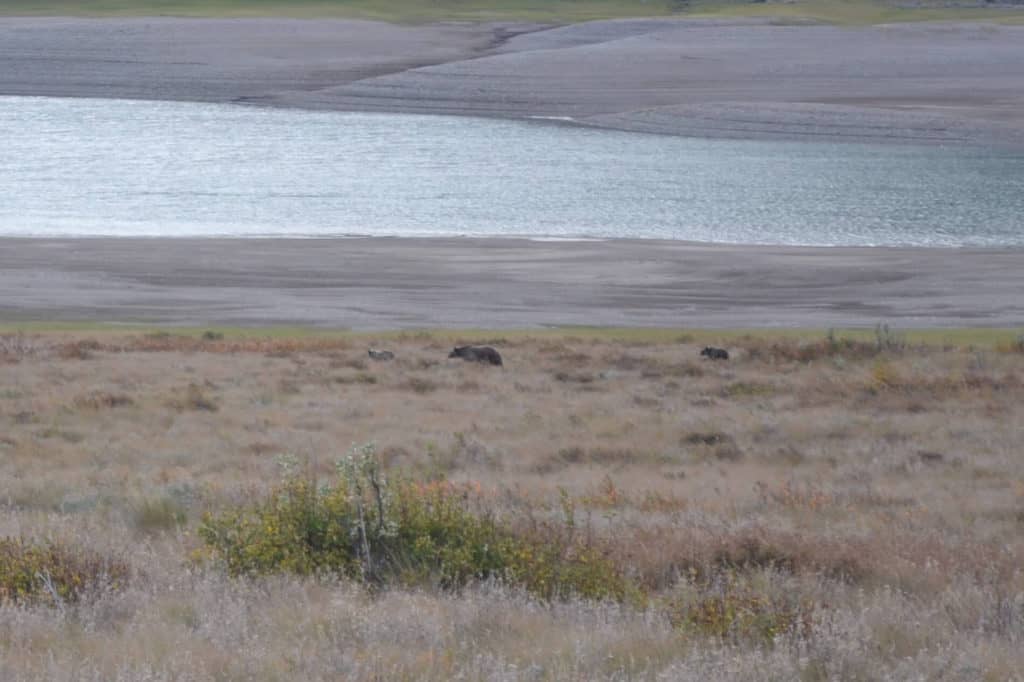
We saw a mama grizzly and her 2 cubs a couple miles into the Cracker Lake hike. They were far enough away that they didn’t even notice us, but it was a reminder that we were in their home. Be mindful of this.
Because you will be in bear country, you must secure food and smelly items at your backcountry site. Bring either a bear bag to hang or a bear canister for safe storage.
You may see other wildlife like moose or bighorn sheep. Always always keep a safe distance.
What to Pack
Besides your normal backpacking gear, backpacking Cracker Lake does not require many different supplies. Depending on when you are there, it can get cold. Therefore, pack some layers.
Because you are in bear country, you will need a way to hang your food. Bring an airtight bag and rope. The Cracker Lake backpacking site has the set-up for your bear bag, so you don’t have to worry about finding the right tree.
They do recommend carrying bear spray while hiking in Glacier NP. You can rent it nearby or buy some when you arrive.
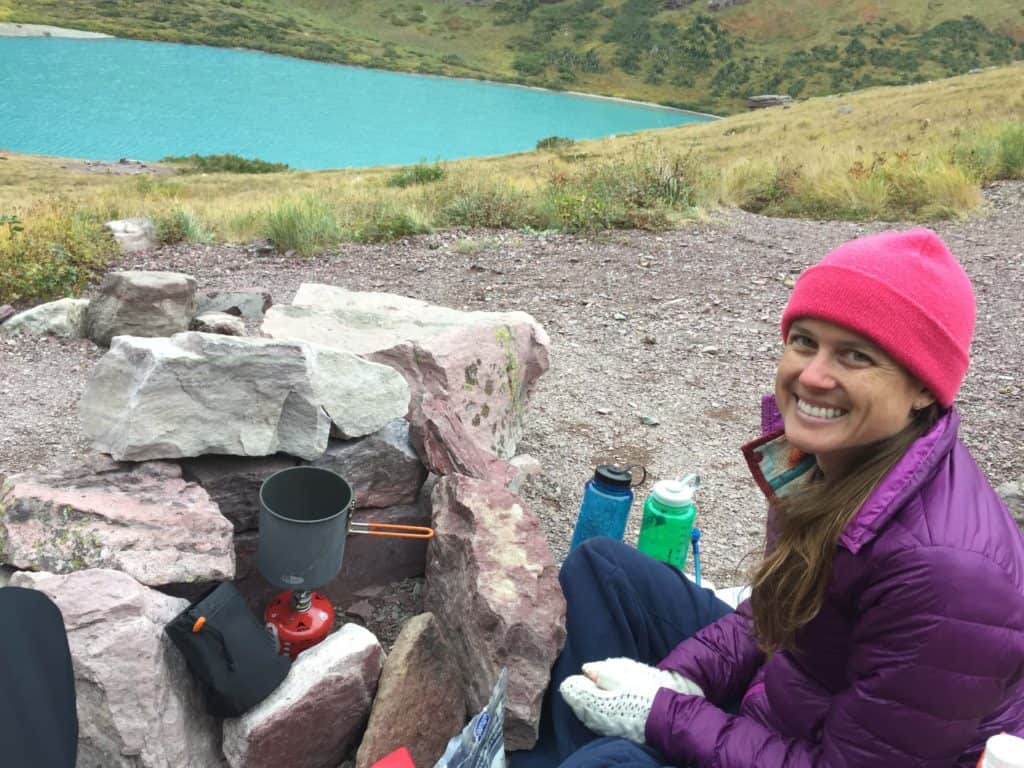
Fires are not allowed at this site so make sure you bring your camping stove and supplies. There are designated areas to cook.
Where to Park to Backpack Cracker Lake
Thankfully, parking for this hike is so easy. You park in the parking lot at Many Glacier Hotel, and the hike begins from the Cracker Lake Trailhead at the south end of the lot. You really can’t miss it.
Here’s a map of all the backcountry sites.
Hiking the Cracker Lake Trail
The Cracker Lake Trail is very clearly marked, even for someone with direction problems like me. You will get to a split soon after you start hiking; hike left. Other than that, there are no splits. Just follow the trail!
Parts of this trail are heavily trafficked by horses so beware of horse poop and mud. I read quite a few reviews of people complaining about this, but I think the beauty of Cracker Lake outweighed having to step around horse manure.
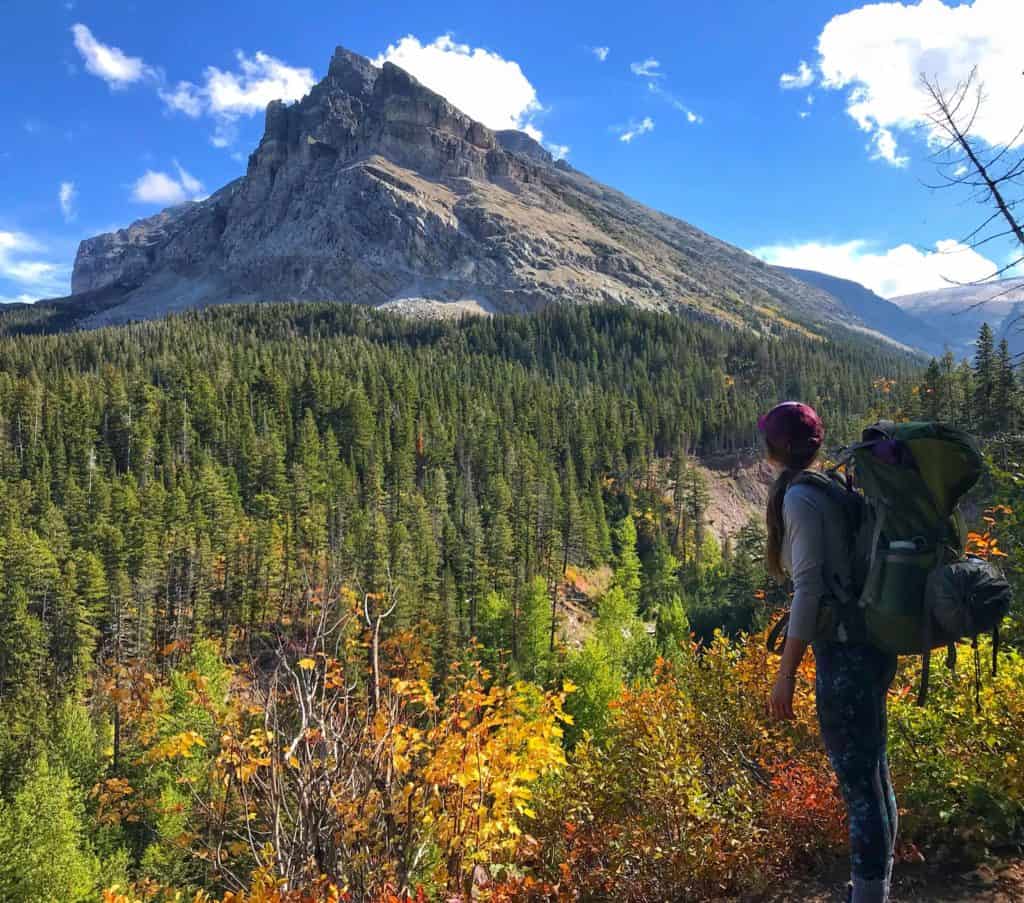
The trail takes you through heavily forested areas. You will get glimpses of Cracker Flats, a waterfall from afar, canyons, and creeks. The hike as a whole is not the most beautiful you’ll ever do. It is really the ending that makes it worthwhile.
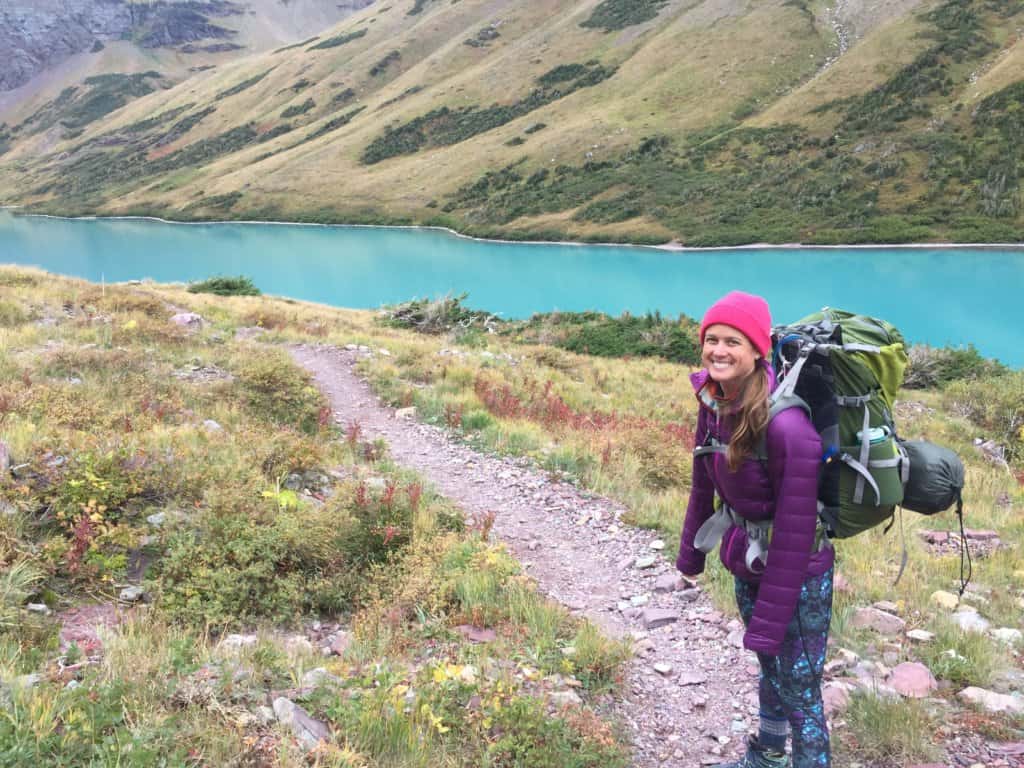
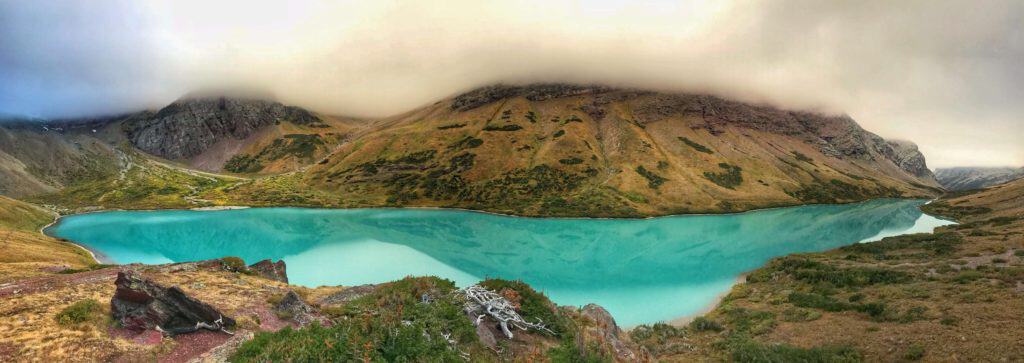
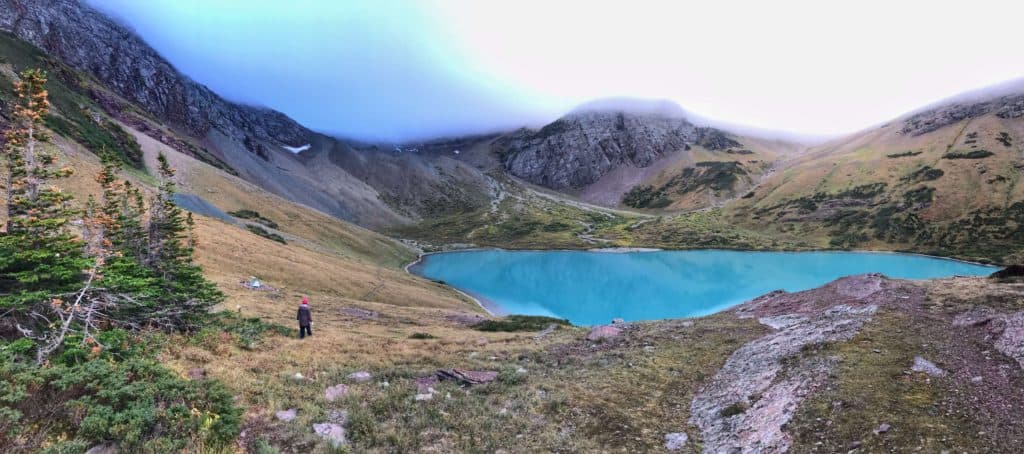
You will reach your first view of Cracker Lake at mile 5.8 and oh what a beautiful view it is. Cracker Lake is the most pristine turquoise color. To top the view off, the mountains that surround the lake are incredible. My photos don’t do the view justice.
Follow the signs to keep hiking 0.5-ish miles to get even better views and to get to your campsite. It took us around 4.5 hours each way, but everyone’s pace varies.
You can see 9,376 foot Allen Mountain, 10,014 foot Mt Siyeh, and Cracker Lake over 4000 feet below them. I never fully understand how water gets its color, but it has something to do with it being a glacier-fed lake and light refraction. Science?
Once you’ve made it to your campsite
Bask in the glory of this campsite. It is one of the best I’ve ever had. Admire the lake, set up camp, and explore. If you continue following the trail on this side of the lake, you will get to an old mining site, which seems so out of place in the middle of nature’s beauty.
Be prepared, the latrine is very inconveniently far from the campsite. But PLEASE use it. It is there for a reason. As tempting as it might be to just pee in the grass, do NOT do this. The smell attracts animals, and it causes all sorts of problems. Bring your own biodegradable toilet paper.
On the subject of smells, this campsite has a designated cooking area. Don’t take food down by the tents and never leave food out. Hang it up when not in use.
Basically, be a good human and always practice Leave No Trace principles. Keep nature awesome.
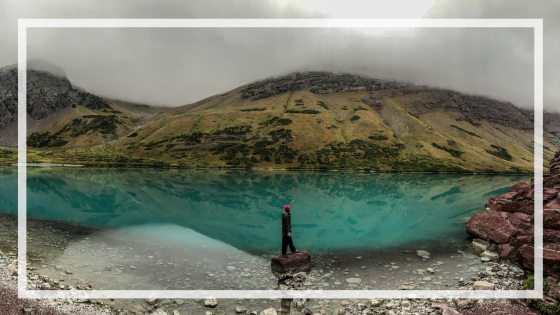
Backpacking Cracker Lake was one of my favorite backpacking experiences. We had the whole lake to ourselves, and it was amazing. I think it’s pretty rare that campers get the backcountry to themselves here, so I feel extremely grateful. Nature’s beauty often leaves me in awe, and Cracker Lake was no exception.
I do think backpacking Cracker Lake is a good option for a first time backpacker. The trail isn’t super long, it can be done in one night, and you have a latrine and bear hang. You also have the support of park rangers that can advise you before you head out.
Story-time about this hike: Cracker Lake – by Nurse to Nomad.
Next, my comprehensive Guide to Glacier National Park will tell you all you need to know about planning a visit. And to see all the Glacier National Park Campgrounds in one post, read this!
I hope this guide helps you make your Cracker Lake dreams come true.
Happy Backpacking!
Comments? Ideas? Advice? Leave some!