Tour du Mont Blanc Camping – The Ultimate Guide
Tour du Mont Blanc Camping was added to my bucket list when I saw it featured on someone’s Instagram (social media for the win – for once!). I drooled over photos of tiny European towns, pastries galore, astounding mountain views, and a little bit of misery. The perfect combo for an epic trek, right?
I will share everything you need to know about backpacking or camping the Tour du Mont Blanc Hike. This post is super detailed. What to pack, when to go, where to camp, and cost. I’ve included an itinerary at the end of the post that includes the distance each day in kilometers/miles and the height gain/loss in meters/feet.
If you’re reading this, I hope you’ve already bought your plane tickets.
If you haven’t, let me convince you that you should.
11 Reasons to Hike the Tour du Mont Blanc might convince you too.
Jump to Tour du Mont Blanc Camping
- The Tour du Mont Blanc at a Glance:
- About the Tour du Mont Blanc
- The Best Time for Backpacking the Tour du Mont Blanc
- Clockwise or Counter Clockwise?
- How to Get There
- How Much Time is Necessary for backpacking the Tour du Mont Blanc
- Pros and Cons of Backpacking the Tour du Mont Blanc
- What to Pack
- Cost of Backpacking the Tour du Mont Blanc
- Currency
- The Cicerone Guide
- 11 Day Itinerary for Backpacking the Tour du Mont Blanc
- Day 1 Les Houches – Bionnassay – Les Contamines
- Day 2 Les Contamines – Col de la Croix du Bonhomme – Les Chapieux
- Day 3 Les Chapieux – Col de la Seigne – Rifugio Elisabetta
- Day 4 Rifugio Elisabetta – Courmayeur
- Day 5 Courmayeur – Rifugio Bonatti
- Day 6 Rifugio Bonatti – Grand Col Ferret – La Fouly
- Day 7 La Fouly – Champex
- Day 8 Champex – Alp Bovine – Col de la Forclaz OR Champex – Fenetre d’Arpette – Le Peuty
- Day 9 Col de la Forclaz or Le Peuty – Col de Balme – Tre le Champ
- Day 10 Tre le Champ – Refuge La Flegere
- Day 11 FINAL DAY of backpacking the Tour du Mont Blanc! Refuge La Flegere – Le Brevent – Les Houches
- Advice for Backpacking the Tour du Mont Blanc
The Tour du Mont Blanc at a Glance:
- Distance: around 105 miles
- Time: 10-12 days, typically done in 11
- Where: Through Switzerland, Italy, and France
- Elevation: 32,800 ft height gain and loss
- Best Time to Go: Summer – End of June thru September
About the Tour du Mont Blanc
This trek, also called the TMB, is incredible and unique. You get to hike all day and eat your way through Europe. Mont Blanc, a massive 15,771 foot mountain, is the reason for this loop trek in the Alps. You hike around the entire Mont Blanc mountain range; you pass through mountain towns with the best, most buttery pastries, pizza, and chocolate while admiring views of these stunning mountains. The trek is most commonly hiked in 11 days, 10 nights and is around 105 miles.
The Best Time for Tour du Mont Blanc Camping
The start of hiking season on the TMB depends on the previous winter. An end of June or first week of July start is your best bet. Hiking season goes through September. The TMB can sometimes be hiked in October, but you will not have the luxury of refuges and restaurants being open.
Every year, the UTMB (Ultra Trail Marathon) takes place at the end of August (check dates online). It would be best to avoid conquering this trek during that time. If you do go during the race, be sure to reserve your accommodations ahead of time.
Hike the TMB Clockwise or Counter Clockwise?
Because this trail is one large loop, you can choose to hike it in either direction. Most people hike it in the anti-clockwise direction. If you choose to do it clockwise, you will be traveling against the flow of people and will not see the same people on the trail each day. This is your choice. My friend and I hiked it counter-clockwise so that is what I will be referring to in this guide.
I can’t say which is better, but we definitely enjoyed running into some of the same people throughout the trek and swapping stories about the trail. My vote is for counter-clockwise.
How to Get to the Start of the Tour du Mont Blanc Trail
Easiest: Fly into Geneva and take a 2 hour bus to Les Houches and Chamonix. We visited an information desk at the airport and easily booked our bus tickets after we landed in Geneva. Verify the times here. Bus tickets were $10-15.
There are also some train options that are worth looking into depending on where you might be coming from in Europe.
I love the website www.rome2rio.com to check out different ways to get places.
How Much Time is Necessary for Tour du Mont Blanc Camping?
Plan for a solid 11 days of hiking. You can do it in less, but if you’re planning on backpacking/camping, I don’t recommend planning for a shorter time limit. You won’t be as easily able to add extra miles to your day because your heavy pack will slow you down. It is not an easy hike, and we were super slow.
Pros and Cons of Tour du Mont Blanc Camping
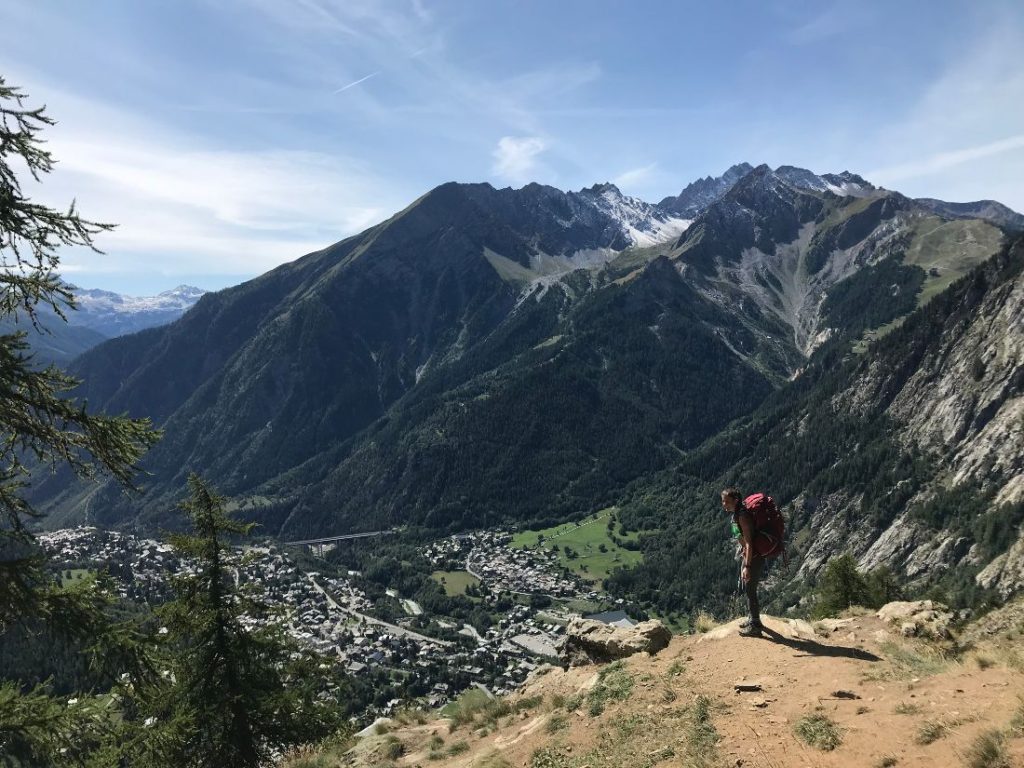
The difficulty of this hike varies significantly depending on how you want to hike it. Some people hike with a tour group that drops off their belongings at the lodges each night. They only have to carry a small day pack. Others hike it and stay at lodges along the way and are only required to bring changes of clothes with them.
But not you, my friend. You’re reading this because you want the misery of carrying a heavy pack along the trail each day. You want to make this difficult trek the most difficult it can possibly be by doing Tour du Mont Blanc Camping instead of just day hiking it.
I get it.
Pros of Backpacking and Camping the TMB
- You have WAY more flexibility in accommodations. If you rely on lodges, you might be out of luck if you don’t book ahead of time. With a tent, you know that you will always have somewhere to sleep.
- To me, camping is the way to go. You spend all day and night in nature, totally immersing yourself in the trail. It’s awesome.
- It will save you a ton of money. Some campsites are free. All are relatively cheap. You can spend all this extra money on pizza.
- You will feel like a badass.
Cons of Backpacking and Camping the TMB
- You’ll hear “wow that’s a huge backpack” 100 times because very few people choose to backpack and carry a tent on this trail.
- While others are sleeping in hotels, you’ll be cooking on your camp stove and sleeping in the cold.
- Italy has some weird anti-camping laws, so it makes it difficult to camp wherever you want during that section.
- It’s more painful. If you’re reading this and are considering backpacking it, you already know this.
I like to refer to the 4 Ps for this trail: Pain, Pizza, Pasta, and Pastries. You must suffer the first P to appreciate the other 3 Ps. Backpacking the Tour du Mont Blanc allows you to accomplish the 4 Ps.
The beauty of this trail is that you can do a bit of both backpacking and non-camping nights. We spent 3/10 nights in lodging due to the lack of campsites in those areas, and it felt SO luxurious and necessary. However, we saved a crap ton of money by camping 7 of the nights, didn’t have to make reservations ahead of time, and had flexibility in how much we hiked each day. If you’re undecided or have more questions, email me at [email protected].
For more backpacking inspiration, check out the 10 Best Bucket List Backpacking Trip Ideas.
What to Pack for the Tour du Mont Blanc Trail
This will depend on when you decide to trek. If you’re going mid-summer, you won’t need a lot of warm clothes. If you go in September like we did, pack ALL THE LAYERS. The weather can change by 40 degrees day to day. Be prepared.
For the only packing list you’ll need, I wrote a post and included every little thing that we brought with us.
Cost of Backpacking the Tour du Mont Blanc Trail
This can vary GREATLY from person to person. If you camp every night, cook on a camp stove, and don’t splurge on anything, you can do this hike for a couple hundred bucks. You can also stay in a lodge every night, eat exclusively at nice restaurants, and pay for someone to carry your stuff from room to room and spend thousands of dollars.
Or you can be like my friend and me. We ate like queens sometimes but then cooked noodles at our campsite on other nights. We put up our tent in the freezing cold at a free campsite but then stayed in a hotel one night. The two of us didn’t have big splurges, but we fully enjoyed our trip.
We spent around $1000 total for the two of us for the 11 day trek. This included campsites, refuge bed and board for 2 nights, 1 night in a hotel in Courmayeur, food, and alcohol. I’m going to bet that most people can’t spend 11 days in Europe and only spend $500.
I have a feeling costs have gone up since we did this hike. Luckily, there is an awesome website to help you calculate the approximate cost for you to hike this.
Currency
While we’re on the subject of money, it’s important to note that you are traveling through different countries. France and Italy both use the Euro. Be sure to get cash before heading out on your trek because many places only take cash. (I haven’t heard of many or any TMB robberies, so err on the side of having too much cash with you.)
Switzerland uses the Franc. You can get Francs once you arrive in Switzerland, but many places in Switzerland will also accept Euros.
I am awful at calculating between currencies, so I suggest downloading an app ahead of time so you aren’t stuck scratching your head and wondering if you just overpaid for a campsite.
The Cicerone Guide
A book called Trekking the Tour of Mont Blanc exists, and you must buy it. As great as this blog post is, you have to own the guidebook and bring it with you. It’s like the Bible of this trek, and every other blog post recommends it as well. We did very little planning ahead of time and were able to complete the whole trek thanks to this book.
11 Day Itinerary for Tour du Mont Blanc Camping
I am going to go through your 11 days with a quick overview of each day and how to get to where you’ll camp. If you would like a more comprehensive description of each day, read my other post.
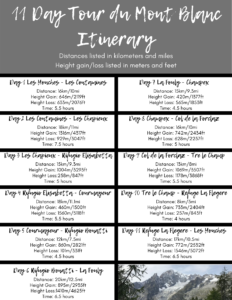
Also, because I had NO concept of how far a meter or kilometer was, I have included the height gain/loss in meters/feet each day and how far the distance is in kilometers/miles.
This itinerary is Anti-Clockwise and starts in Les Houches. I am only going to list camping options for accommodations unless there isn’t an available campground.
For a 1 page printable itinerary, download here.
Day 1 Les Houches – Bionnassay – Les Contamines
Distance: 16km/10mi
Height Gain: 646m/2119ft
Height Loss: 633m/2076ft
Time: 5.5 hours
Where to Camp: Camping le Pontet (not far off the trail)
When you arrive in Les Contamine, stop and have a drink, then stop at a market to buy what you might need for cooking. It will be 3 days before you encounter more grocery stores. Read the start of Stage 2 in the guide book for how to get to the campground. It is around 45 minutes past the town.
When you see the lake/restaurant, turn right into the park before the lake. Curve left around the lake then right towards the campground. You’ll take a right on a road and then reach the entrance.
Camping Le Pontet has a small camp store, optional (sort of expensive) dinner, hot showers, and paid wifi.
Day 2 Les Contamines – Col de la Croix du Bonhomme – Les Chapieux
Distance: 18km/11mi
Height Gain: 1316m/4317ft
Height Loss: 929m/3047ft
Time: 7.5 hours
Where to Camp: Free camping in Les Chapieux (on the trail)
Les Chapieux is the tiniest town (not sure it’s even considered a town), so you can’t miss where to camp. You can camp in the big meadow behind the public toilets.
There is a small store and public restroom. No wifi or showers. Plan to eat a camping meal this night – the restaurant was only open to hotel guests, and the small sandwich shop was already closed by the time we arrived.
Day 3 Les Chapieux – Col de la Seigne – Rifugio Elisabetta
Distance: 15km/9.3mi
Height Gain: 1004m/3293ft
Height Loss: 258m/847ft
Time: 5 hours
Where to Stay: Rifugio Elisabetta or camp somewhere above the Rifugio
This is one of the nights where camping is tricky. To wild camp in Italy, you must camp above 2500m/8200ft or risk a huge fine. Rifugio Elisabetta is at 2200m/7200ft, so you would need to keep climbing up past the refuge for another 1000ft or so. From the research I did, it sounds like if you keep climbing past the refuge you will hit some flat areas for camping that can’t be seen from the road.
Snow and freezing temperatures were expected for this night, so we opted to stay at Rifugio Elisabetta, which was 47 Euro per person and included a “bed,” dinner, breakfast, and a stunning view of a glacier. If the refuge is full, you can wait it out until 6:30pm (their cut off for people arriving for reservations). If people don’t show, you can take their spots. We were lucky and 2 beds opened up – it sounds like this happens frequently. Make a reservation ahead of time, though, if you know exactly what night you are staying.
** A note about the refugio beds – I have stayed in many hostels before but have never experienced this level of cramming people into small spaces. The refuges don’t really have a choice.. there is no where else to stay close by, so they fit as many people as they possibly can into very small rooms. You basically sleep on a long raised area, right next to another person. Bring earplugs and a sleep sheet.
Day 4 Rifugio Elisabetta – Courmayeur
Distance: 18km/11.1mi
Height Gain: 460m/1500ft
Height Loss: 1560m/5118ft
Time: 5.5 hours
Where to Stay: at a hotel in Courmayeur
Unfortunately, a campground in Courmayeur does not exist. I should probably move there and open one, but alas, you’ll have to stay in a quaint hotel instead. You can go through a lot of extra effort to take buses to camp elsewhere, but we didn’t really want to leave the trail to find a campground.
Accommodations in Courmayeur are not expensive, and it’s SO worth it to stay in a private hotel room with your own bathroom. Gah, luxury!
We stayed at Hotel Edelweiss for 90 Euro/$97, and this included an AMAZING breakfast. They also did all of our nasty laundry for 5 Euro.
**Plan to do your laundry in Courmayeur. There’s a laundromat, but it isn’t open on Sundays. If your hotel does laundry for cheap, treat yo self.
Speaking of treat yo self, please eat at La Tunnel. Order pizza AND homemade pasta. My eyes tear up just thinking about that meal.
Day 5 Courmayeur – Rifugio Bonatti
Distance: 12km/7.5mi
Height Gain: 860m/2821ft
Height Loss: 101m/331ft
Time: 4.5 hours
Where to Stay: Rifugio Bonatti
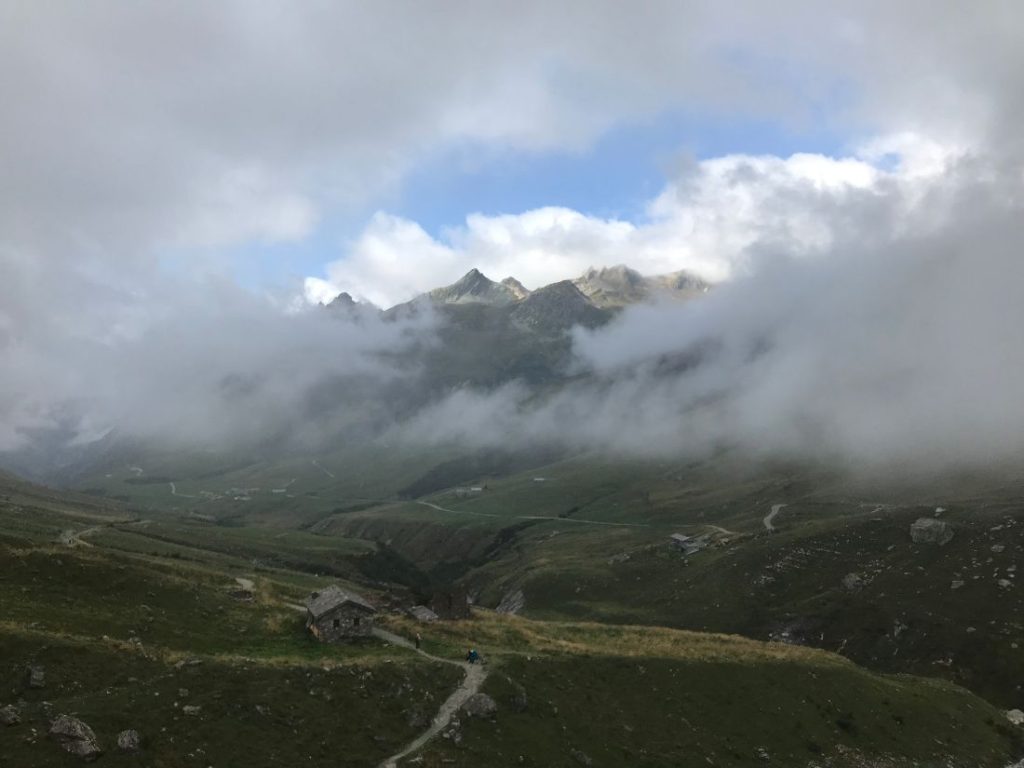
I know, I’ve told you to stay indoors for 3 nights in a row, but these are your best options. Rifugio Bonatti is a couple hours hike from any town, and to camp you’d have to go way off the trail and take a bus to Val Ferret. You’d miss out on the TMB.
Rifugio Bonatti is in the most incredible location. I can’t believe it even exists in this remote area, surrounded by mountains. I love camping, but I also loved staying here.
Cost is 55 Euro per person and includes dinner, breakfast, and a 1 minute (not exaggerating) hot shower. You can buy sandwiches for the next day as well.
Day 6 Rifugio Bonatti – Grand Col Ferret – La Fouly
Distance: 20km/12.5mi
Height Gain: 895m/2935ft
Height Loss: 1410m/4625ft
Time: 6.5 hours
Where to Stay: Camping des Glaciers
Back to camping! Camping des Glaciers is a fantastic campground. You can’t miss it.. you’ll see signs before you even get into town. It’s a 10-15 minute walk into town. The campground has hot showers, a cooking room, and free wifi. Cost is around $10 per person. Pick up groceries in town if you need them! And if you want to eat at a local Swiss restaurant, this is the tiny town to do it.
Day 7 La Fouly – Champex
Distance: 15km/9.3mi
Height Gain: 420m/1377ft
Height Loss: 565m/1853ft
Time: 4.5 hours
Where to Stay: Camping les Rocailles
Camping les Rocailles is located just past the city center. It has laundry, hot showers, a cooking area, and wifi. If you buy groceries in town (and you should), they’ll give you a little crate that you can carry to the campground and leave there. Cost is 34Euro/$36 for 2 people.
** We did laundry on this night to get us through the rest of the trek. I highly recommend this.
Day 8 Champex – Alp Bovine – Col de la Forclaz OR Champex – Fenetre d’Arpette – Le Peuty
* This was the only day that we took a major alternate route. If you have a clear day and want to cross a difficult mountain pass, do the alternate route from the guide. If there’s any chance of bad weather or if you’re worn out (understandable) keep to the regular route; we heard it’s very pretty too.
Main Route:
Distance: 16km/10mi
Height Gain: 742m/2434ft
Height Loss: 682m/2237ft
Time: 5 hours
Where to Stay: Camp next to Hotel de la Forclaz
The camping is near the hotel, and you have access to some of the hotel facilities – toilets, showers, and optional expensive food. Price is $8 per person + $6 per tent.
Alternate Route:
Distance: 14km/8.6mi
Height Gain: 1199m/3933ft
Height Loss: 1139m/3736ft
Time: 6.5 hours +
Where to Stay: Camp in a field in Le Peuty
The alternate route is a doozy. It involves some rock climbing and a very intense incline. We were the only ones out there with packs on and that made for a mildly terrifying hike.
The camping at Le Peuty is in a field right as you come into the town. You’ll see some porta potties that are actually showers, a plain building with public toilets (NO TOILET PAPER), and a covered area for cooking. If it’s not full already, you can eat dinner at the small lodge across the street. Camping is $6 per person but no one ever came around for payment while we were there.
This was our least favorite “campground,” but we couldn’t complain much because it was free.
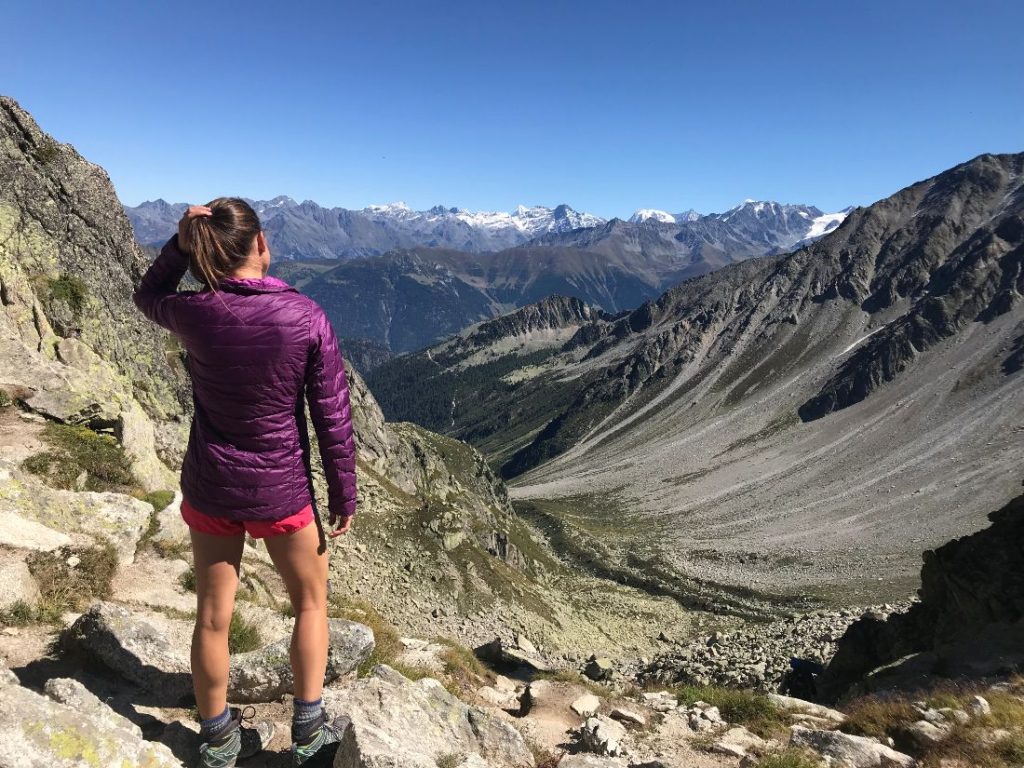
Day 9 Col de la Forclaz or Le Peuty – Col de Balme – Tre le Champ
Distance: 13km/8mi
Height Gain: 1069m/3507ft
Height Loss: 1178m/3868ft
Time: 5.5 hours
Where to Stay: Chalet Pierre Semard (on the trail) or Camping du Glaciers in Argentiere (30-40 mins off the trail)
Chalet Pierre Semard is in Les Frasserands, not too far off the TMB trail. This campground offers free wifi, food, laundry, and hot showers. Around $10 to camp.
We stayed at Camping du Glaciers, and it was our favorite Tour du Mont Blanc Camping site of the trip. You get hot showers with unlimited time, a heated hang out room, free wifi, and you’re within walking distance of some awesome restaurants (delicious pizza). If you’re in need of groceries you’ll have to stay here. Cost is 6 Euro per person and 3 Euro to rent a site.
* Important to note – once you leave Argentiere or Tre le Champ, the only free drinking water is at the cable car station at La Flegere – and if that’s closed already, you’re out of luck. Stock up or pay for water at the various stops.
Day 10 Tre le Champ – Refuge La Flegere
* Listed is the main route, but I highly recommend taking the variant to Lac Blanc. It’s beautiful.
Distance: 8km/5mi
Height Gain: 733m/2404ft
Height Loss: 257m/843ft
Time: 4 hours
Where to Stay: Wild camping outside of Refuge la Flagere
Refuge la Flagere was closed and under construction when we hiked the TMB in 2019, so we wild camped an hour past the refuge. I’ll relay what I’ve read about camping at la Flagere here.
The refuge staff can point you to where you should set up your tent (or look for fellow campers). You can use the refuge’s facilities if you buy a beer. Drinking water is not available at the refuge but is available at the cable car station. Stock up before it closes.
If you want some solitude, keep hiking for about 45 minutes until you reach open grasslands. We wild camped here and had the most glorious view.
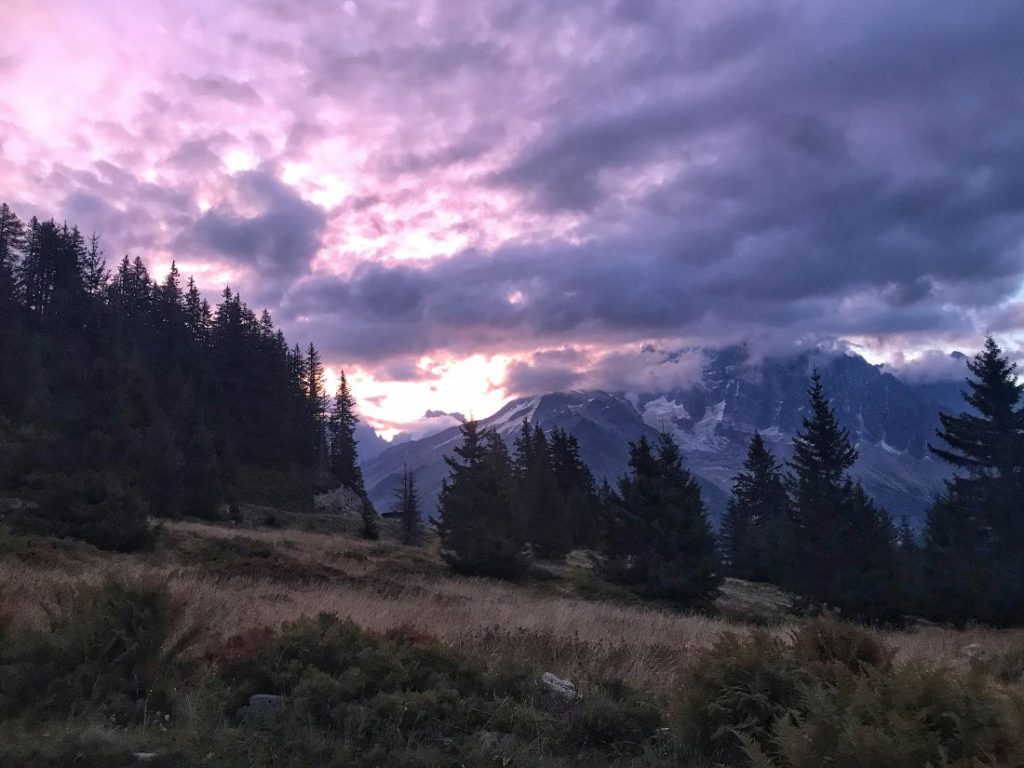
Day 11 FINAL DAY of backpacking the Tour du Mont Blanc! Refuge La Flegere – Le Brevent – Les Houches
Distance: 17km/10.5mi
Height Gain: 772m/2532ft
Height Loss: 1546m/5072ft
Time: 6.5 hours
Where to Stay: Somewhere in Chamonix or Les Houches
YOU DID IT. To celebrate backpacking the Tour du Mont Blanc, I recommend treating yourself to a hotel and a LARGE meal.
Advice for Tour du Mont Blanc Camping
Bring a camping stove and cook meals along the way. This helped us to save money, but it also kept us from having to decide on a restaurant/go out to eat every night. Sometimes we wanted to put our pajamas on and stay at our campsite.
Keep the Cicerone guide close by during the day. The trail is pretty straight forward, but there are quite a few variants. Use the guide to make sure you’re on the right path.
Train for it. Run a marathon. Walk on the stair master. Strengthen your legs and lungs.
Try to mentally prepare yourself for the chance that you might have days that are 100% cloudy when you can’t see a thing. We had a couple days in a row where we couldn’t see any of the mountain passes that the guide described. Instead, we were hiking totally uphill with zero rewards. It was quite depressing, so try to accept it before you go.
I truly hope this guide helps you plan the best trek. Backpacking the Tour du Mont Blanc is something I will never forget, and I’d love for more people to experience it like we did.
Happy Hiking!
More on the Tour du Mont Blanc: Detailed Itinerary, Packing List, 11 Reasons to Hike the TMB
Pin Tour du Mont Blanc Camping for later!
Pin this for later!
If this post didn’t convince you to do Tour du Mont Blanc camping and you want to try out my absolute favorite backpacking trip… read all about Trekking the W in Patagonia here.
Comments? Ideas? Advice? Leave some!